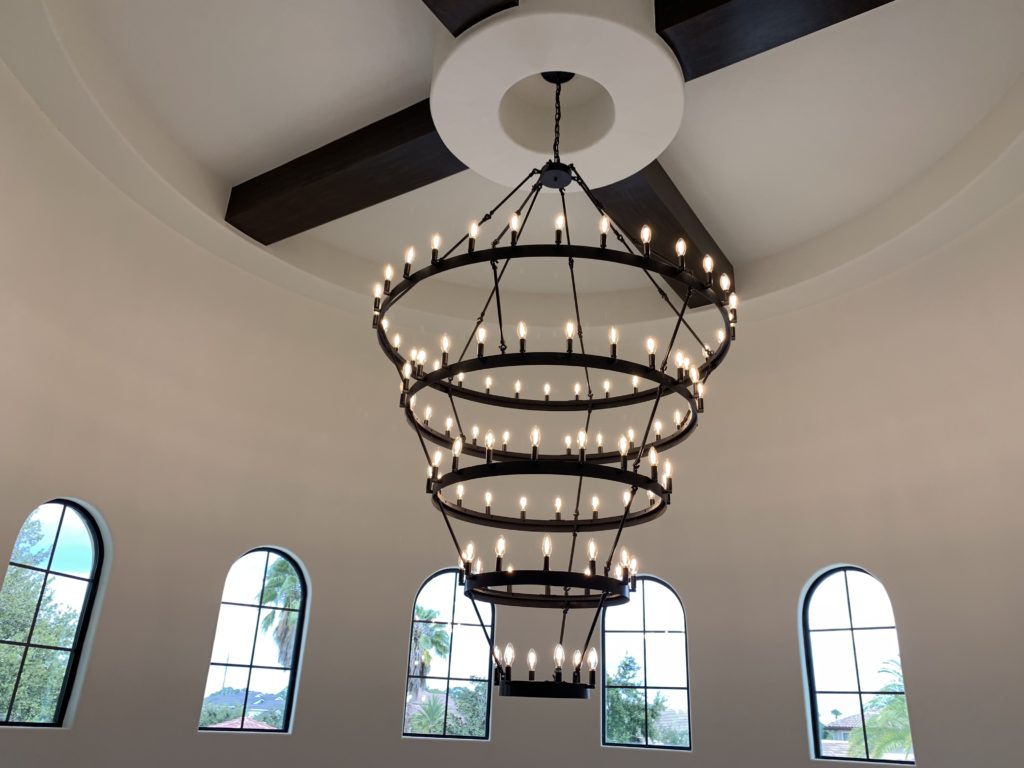
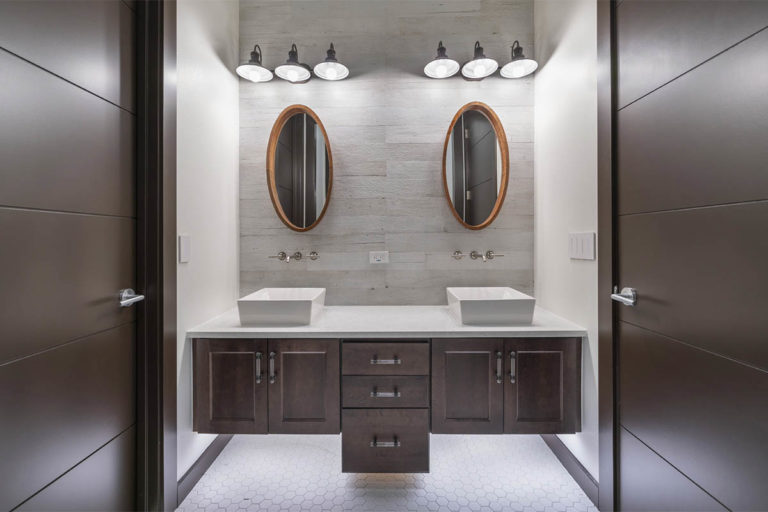
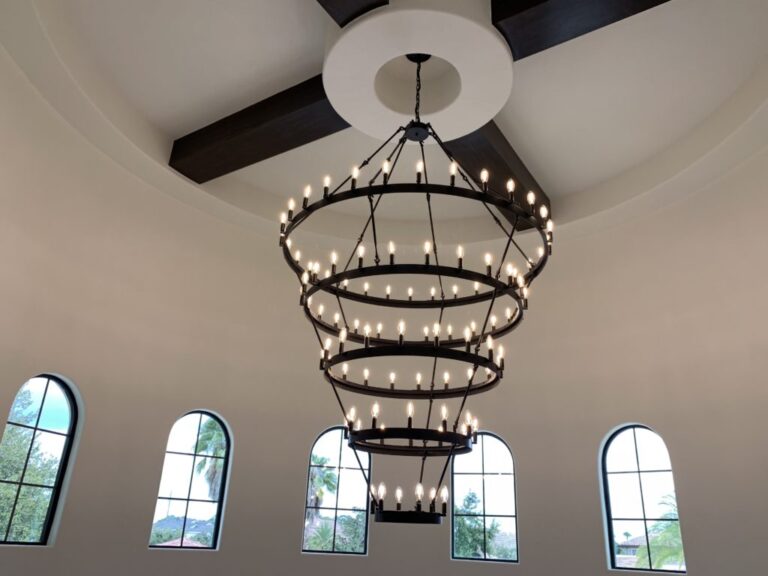
Lighting fixtures are an integral part of home decor illuminating the room’s sense of style. With advancements in LED technology, today’s lighting designs are untethered by bulbs allowing for sculptural silhouettes, geometric shapes, and fluid forms. Orlando Custom Home Builder Jorge Ulibarri is seeing a shift in the way people look at lighting. “Homeowners are willing to invest more money in light fixtures so that they serve as both art and a source of illumination. Lighting fixtures are now considered a form of sculpture in a space,” Jorge says.
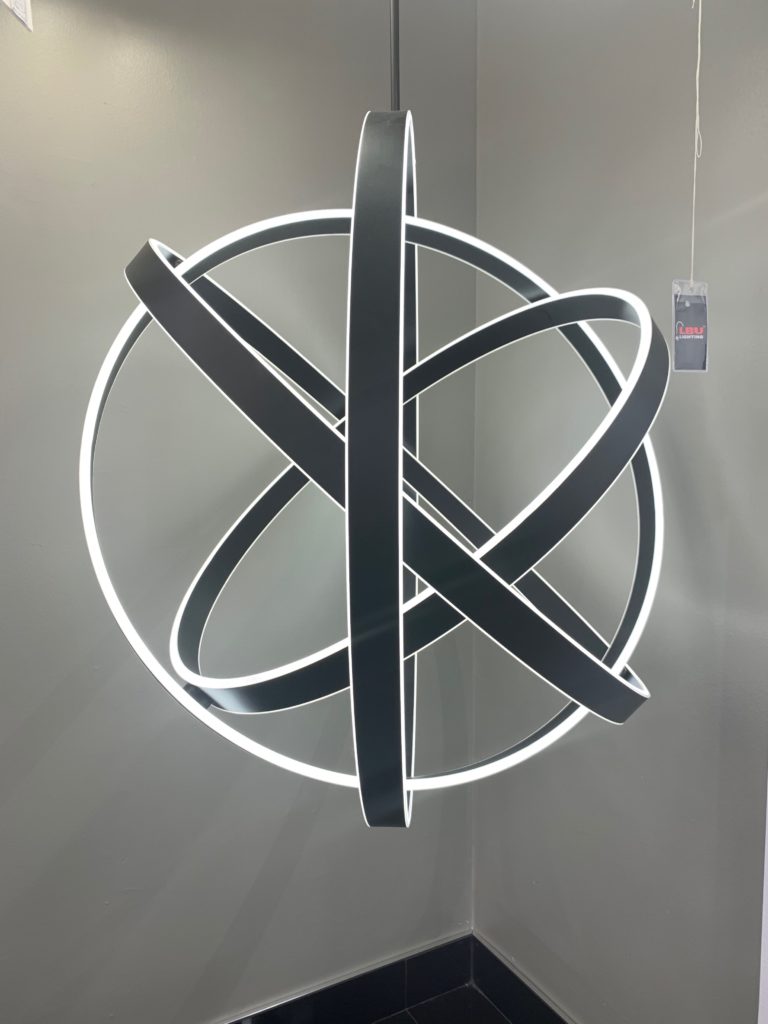
Some of the latest looks in lighting popular with his clients include a fusion of contemporary and rustic elements as well as mixed metal finishes. “Brushed gold and brass finishes are making a comeback especially in geometric and round shapes for modern homes. For more traditional-styled home interiors, I’m seeing a blend of contemporary linear forms with natural materials such as wood to blend both the modern and the rustic.”
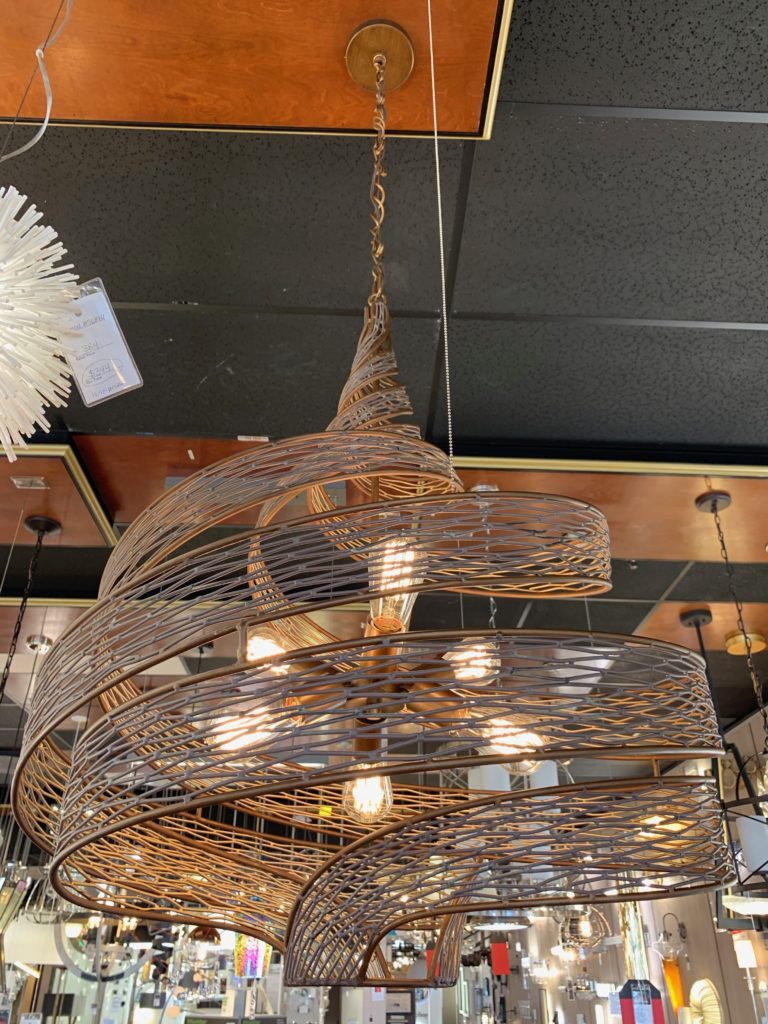
The Orlando Custom Home Builder says clients are also opting to install lighting fixtures in clusters or groups at varying heights. “Buying two smaller light fixtures and grouping them together is an affordable alternative to buying one large fixture,” Jorge says.
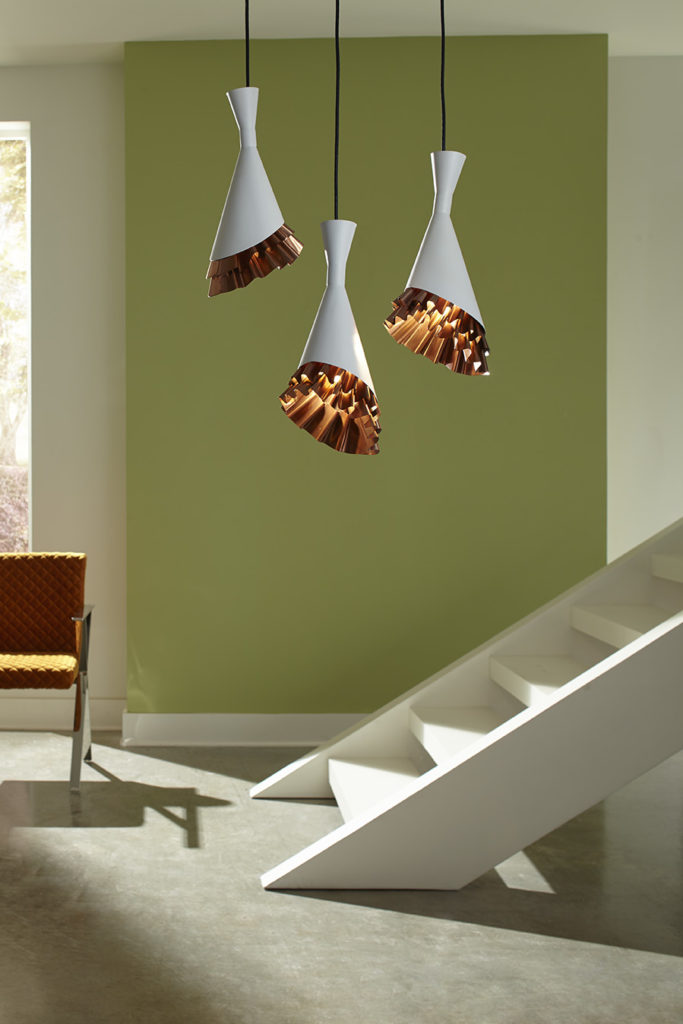
For more on the latest lighting looks, here’s our trend report and a few installation tips to illuminate your space.
Matte Black Fixtures:
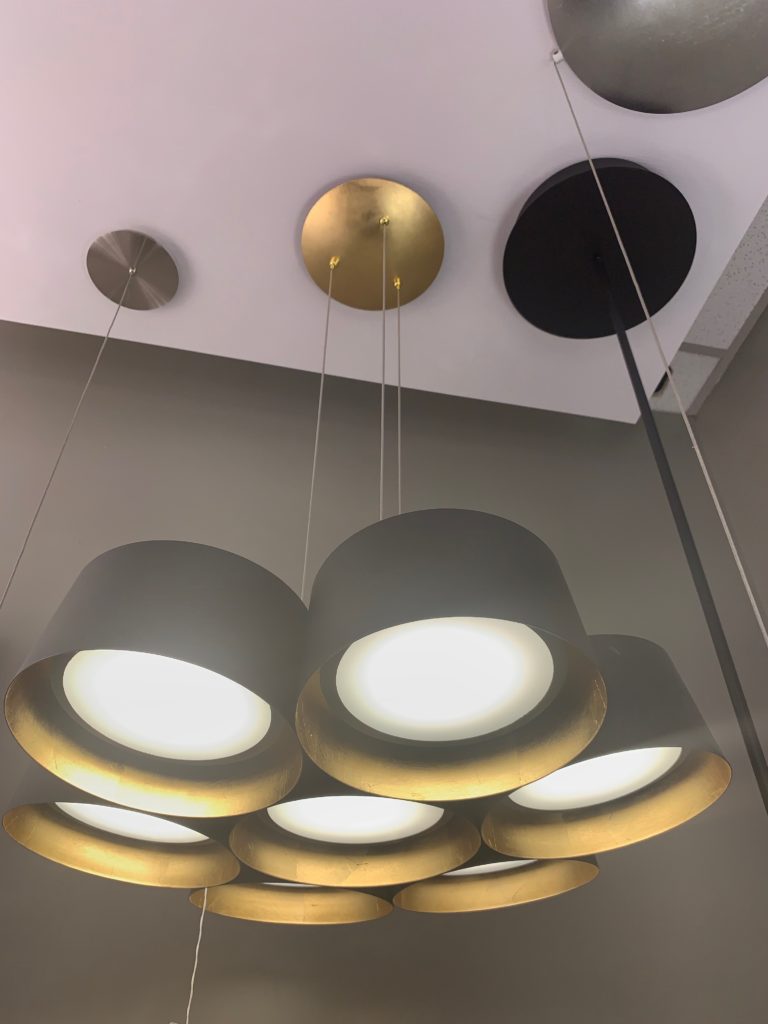
Black is a universally classic hue that transcends a variety of designs and styles.
Midcentury Modern Styles:
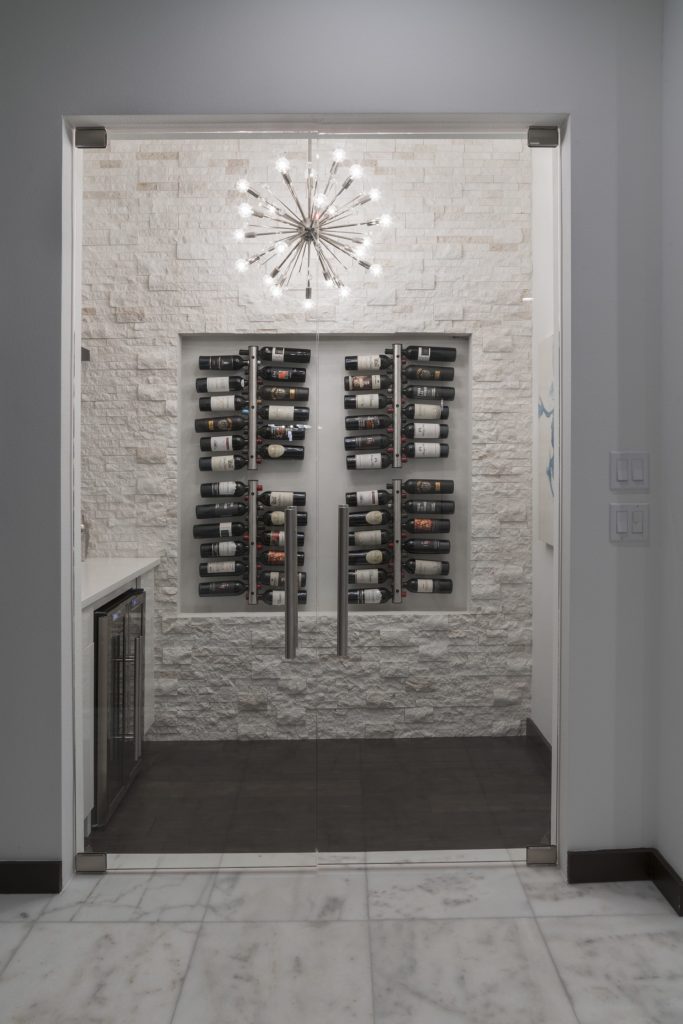
Many millennial homebuyers are showing a renewed interest in Midcentury Modern architecture for its original appeal— floorplans with open spaces and walls of glass with sweeping views. Lighting fixtures that nod to midcentury sensibilities with retro silhouettes updated in warm finishes appeal to both millennial homebuyers and consumers with contemporary-styled interiors.
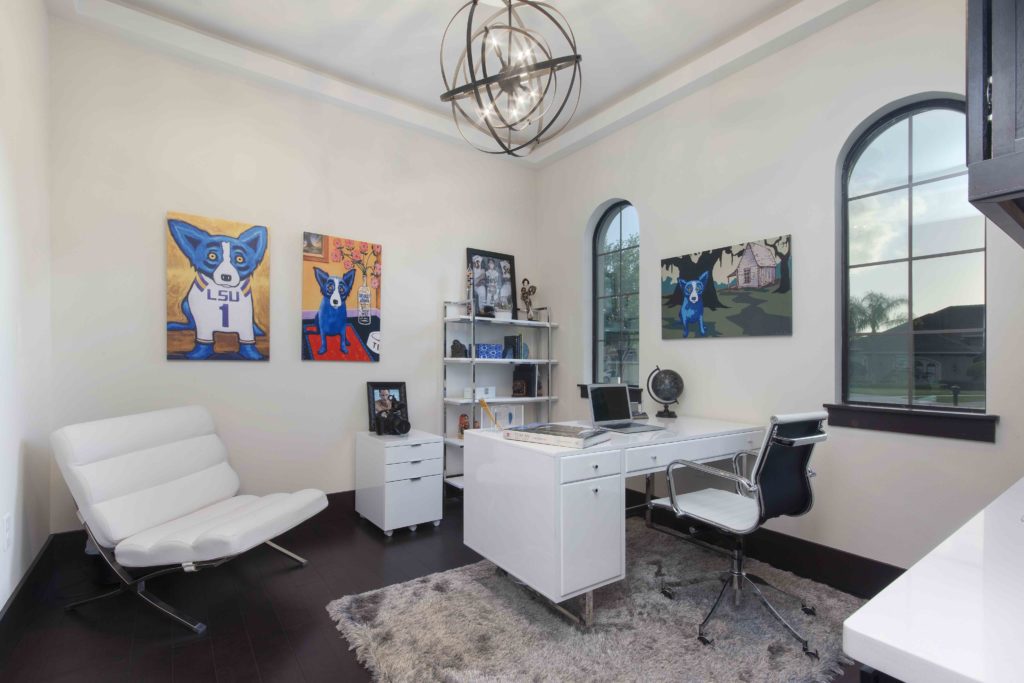
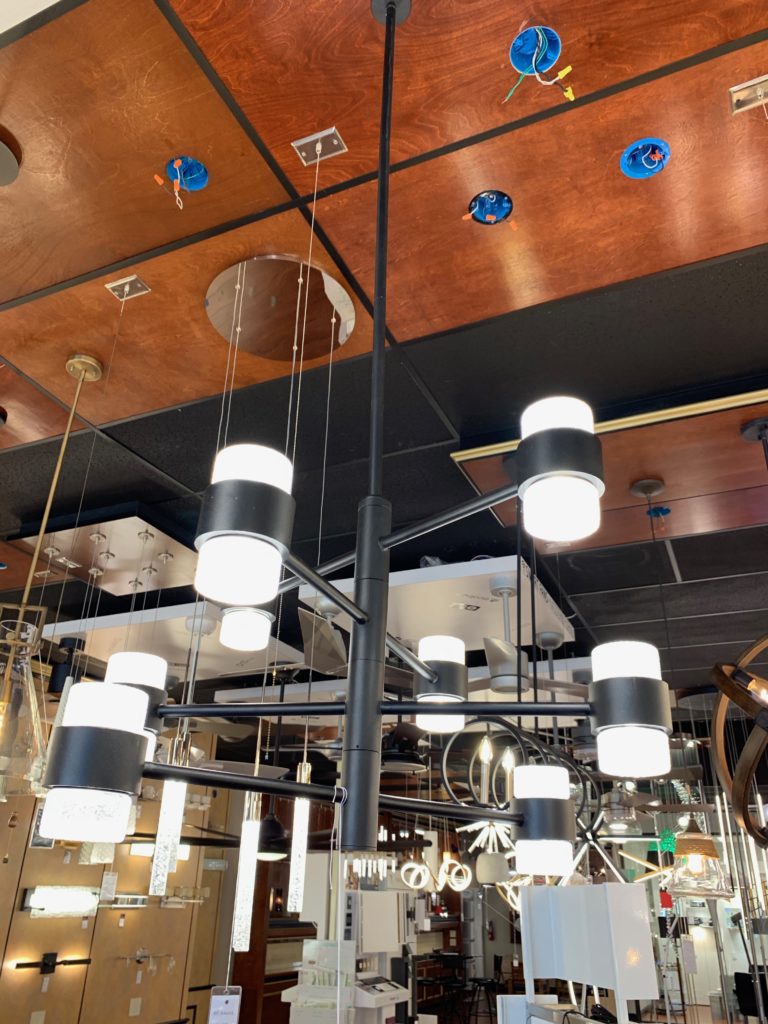
Mixed Metals and Materials:
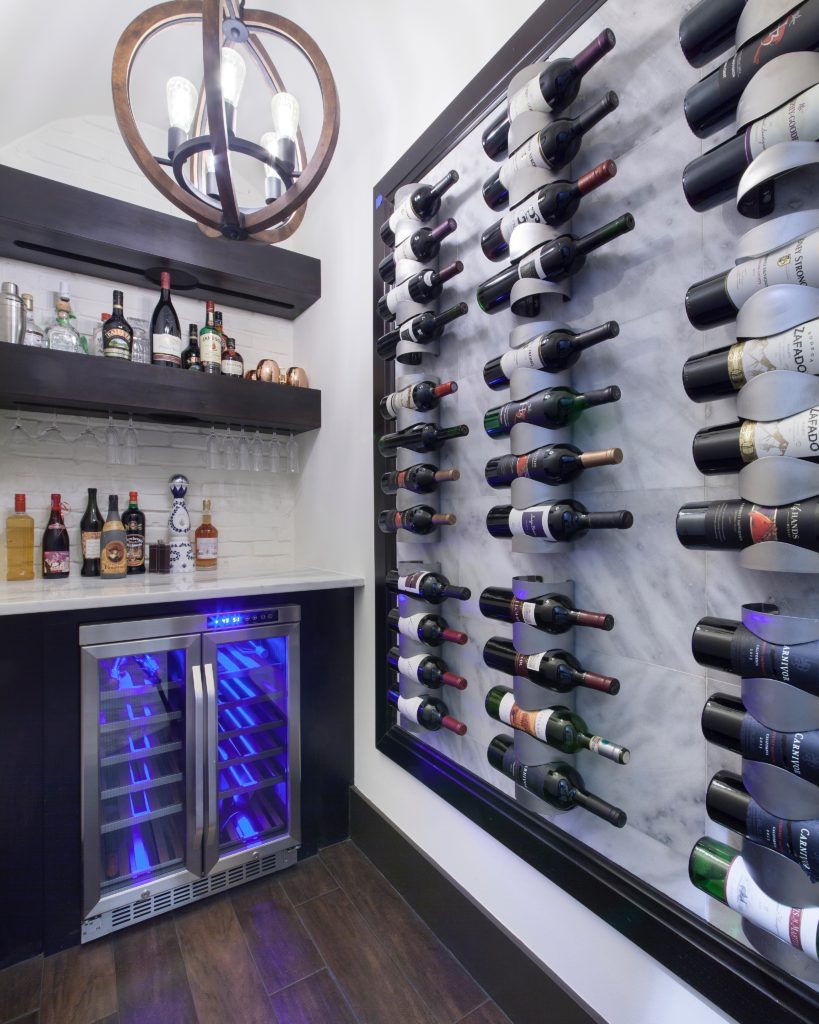
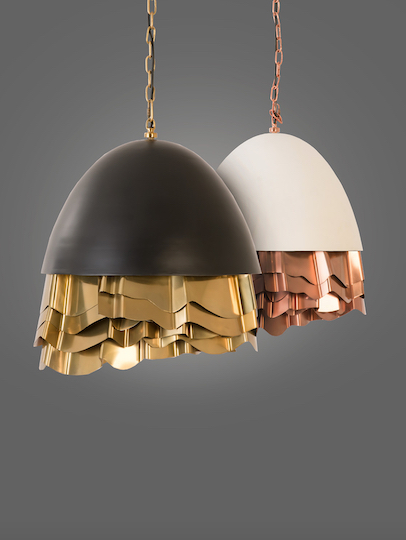
Mixed metal fixtures in any combination of black, bronze, brass, chrome, copper, and gold are resonating with homeowners in clean silhouettes or amorphous shapes. The mixed metal trend in lighting is an extension of overall aesthetic influencing home interiors where fixtures and finishes are used in various metallic combinations instead of matchy-matchy hardware and fittings.
Lighting fixtures that mix different materials are also popular looks especially in farmhouse modern styles where wood combines with metals in blacks, golds, and silvers.
Square Recessed Lighting:
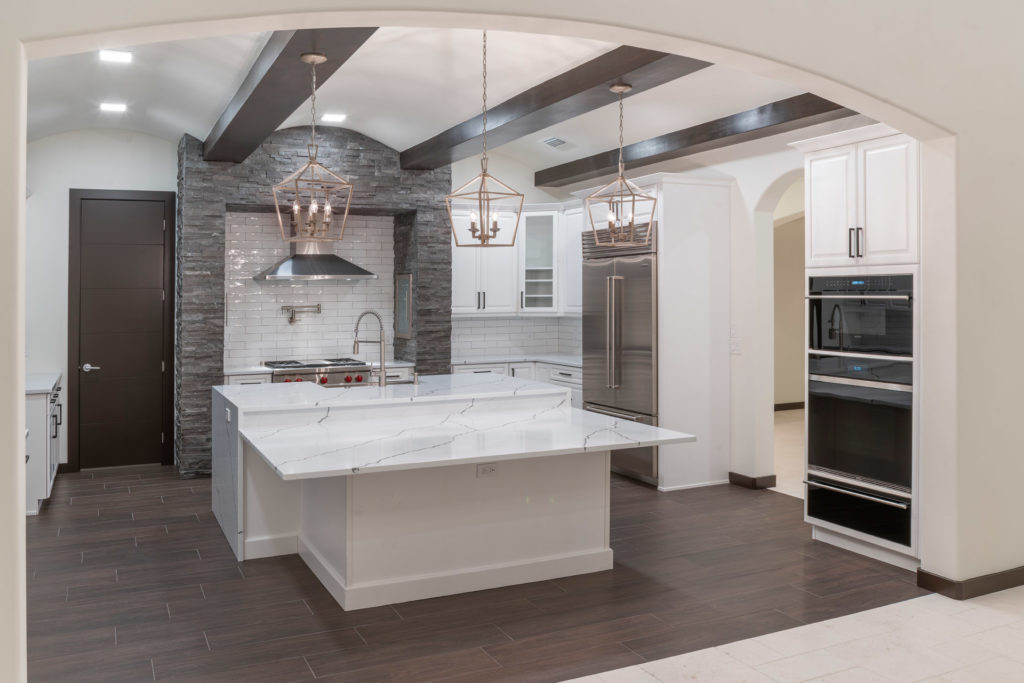
Recessed lighting is shaping up as square designs without trim so that the light sits flush against the ceiling or drywall. Smaller aperture recessed lighting in square shapes is a popular choice because it requires smaller holes in the ceiling yet these lights give off illumination.
Now that you are up on the latest lighting trends, here are a few basic rules to hanging light fixtures you should know.
Lighting Fixture Hanging Tips:
Scale and proportion are essential to successful lighting design and configuration. The biggest mistake homeowners make when choosing and installing lighting is selecting fixtures that are too small or too large for a room. To help with your next lighting, we’ll take you room by room for installation tips and tricks to illuminate a space for style and function.
The Dining Room:
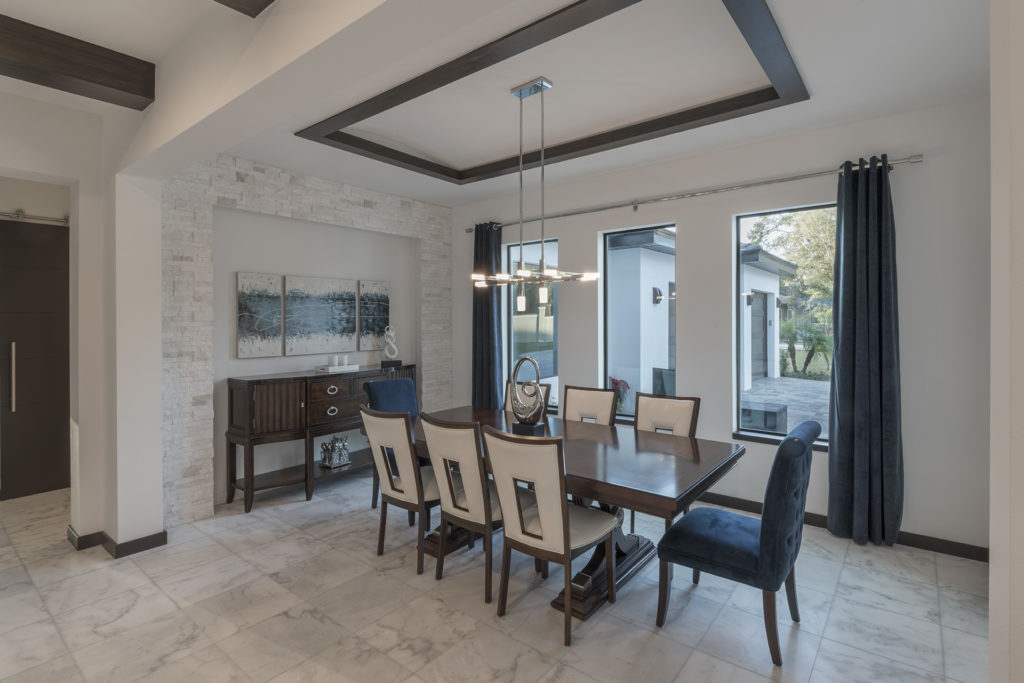
For the dining room, add the length and width of the dining room together to get the minimum diameter of a chandelier. That is your starting point for the size of your light fixture. Next consider the size of the dining table. Rule of thumb here is that the fixture should be one-third to one-half the length of the table and measuring out should start in the center of the table. Try to stay within the width of the table. If you lighting configuration involves a cluster of pendants or light fixtures, spacing should also be one-third to one-half the length of the table. One should go in the center and then space equally to cover the desired length. Hang fixtures over the dining table at least 30 inches from the top to avoid hitting it.
Main Living Spaces:
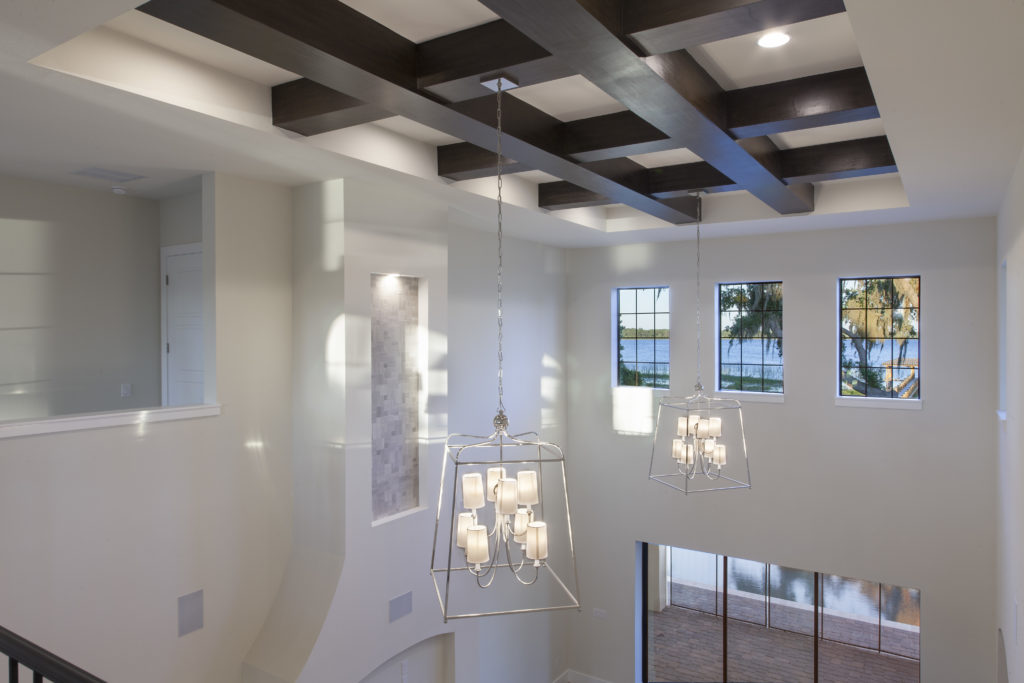
Rules are more flexible for hanging lighting fixtures in main living spaces in a home. If you are using sconces, choose them in sizes at least 18 inches or taller and hang them about 72 to 78 inches off the floor to humanize the space of a two-story height room. In the hallways, place sconces approximately 8 to 10 feet apart in a zig-zag pattern (on both sides) for maximum appeal. For bedrooms, the measurement is more about lumens output than the size of a fixture. Multiply the two wall lengths in a room to come up with the lumens needed in a fixture. For example, if the room is 12 feet by 12 feet, you’d need 2,400 lumens to light the room properly.
Entryways and Foyers:
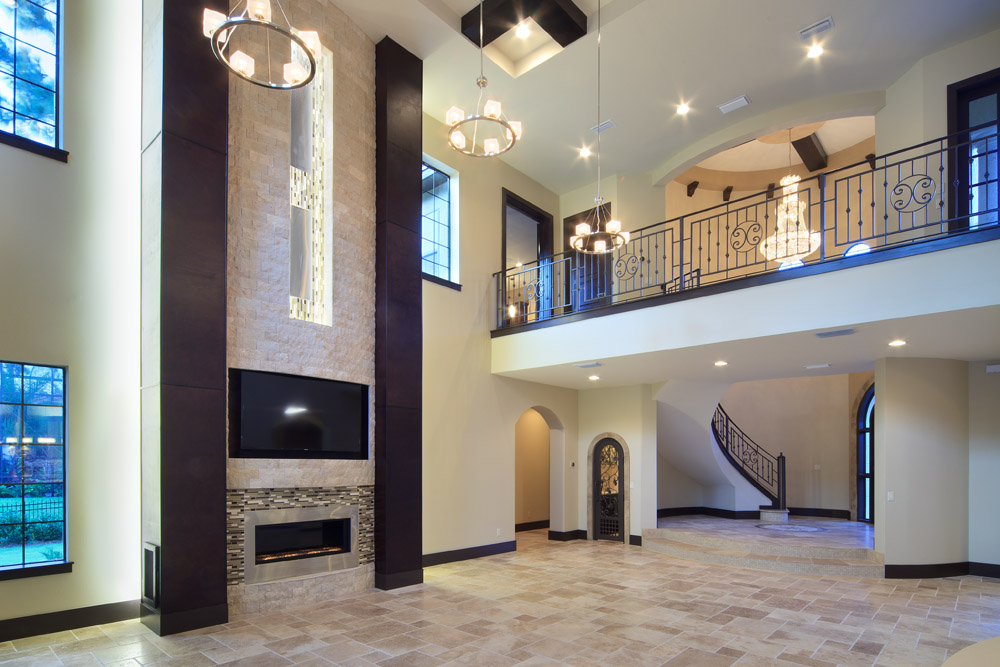
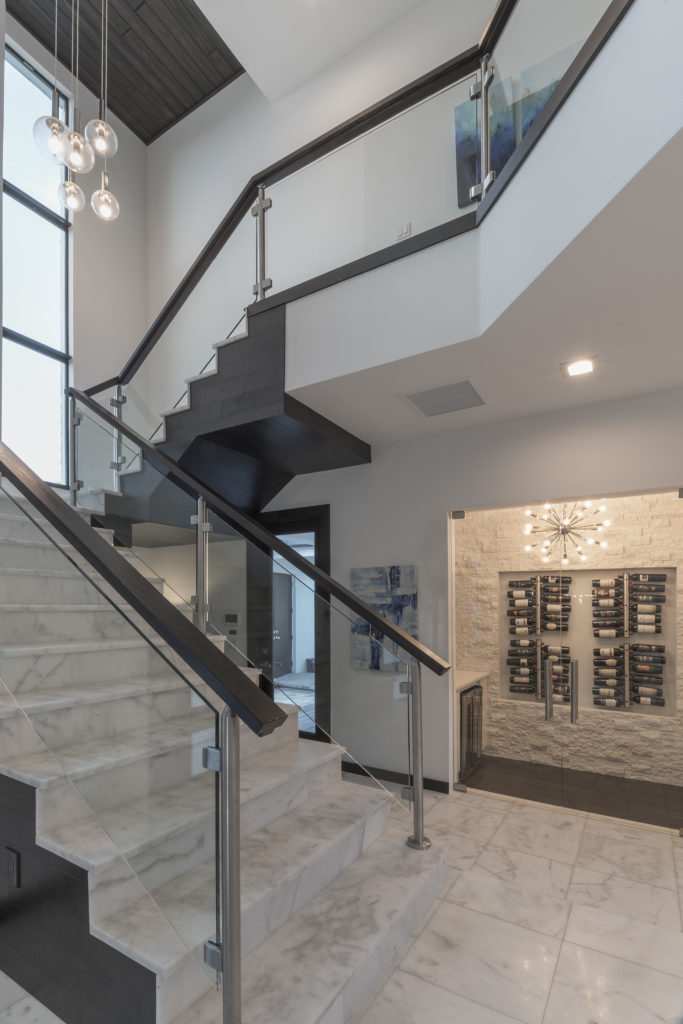
For entryways and foyers larger lighting fixtures often go well. To find the right-sized fixture consider that the distance from the floor to the bottom of the chandelier should be at least 7 feet. If you have a high ceiling, the dimensional rule of thumb is that this fixture should be longer than it is wider. Use a 2-to-1 height-to-width ratio with a high ceiling. For single-story spaces, consider a large semi-flush lighting fixture that drops down but provides enough clearance with doors.
Bathrooms:
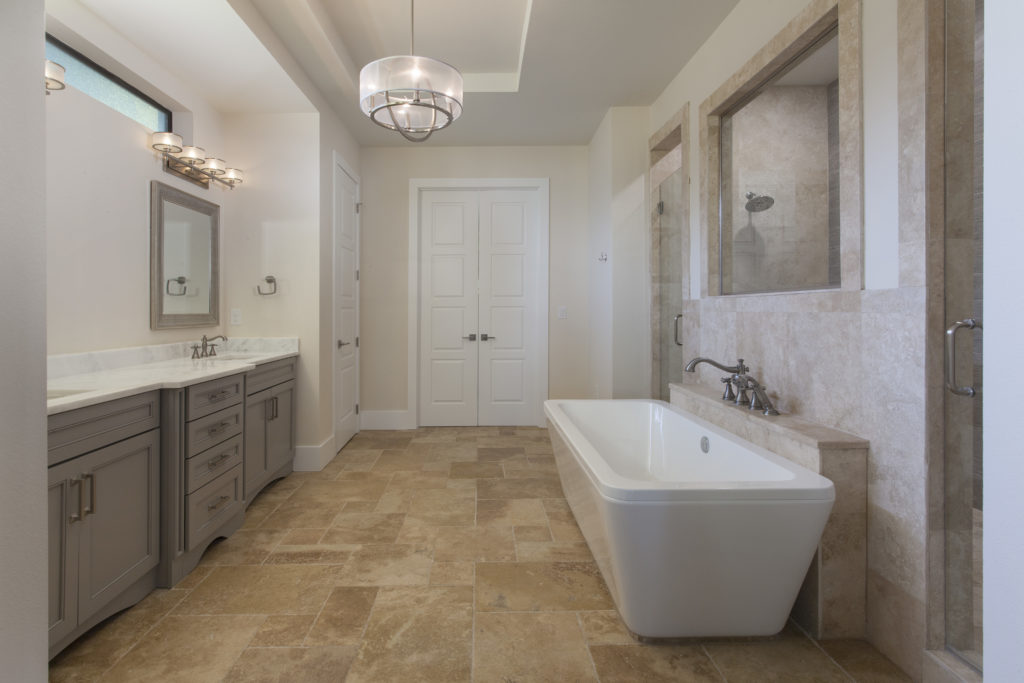
Hang sconces in the bathroom 60 to 66 inches off the floor. Center the light fixtures off the faucets equidistance apart. For a double vanity, a four-light fixture is ideal for spacing, proportion and illumination.
Kitchen:
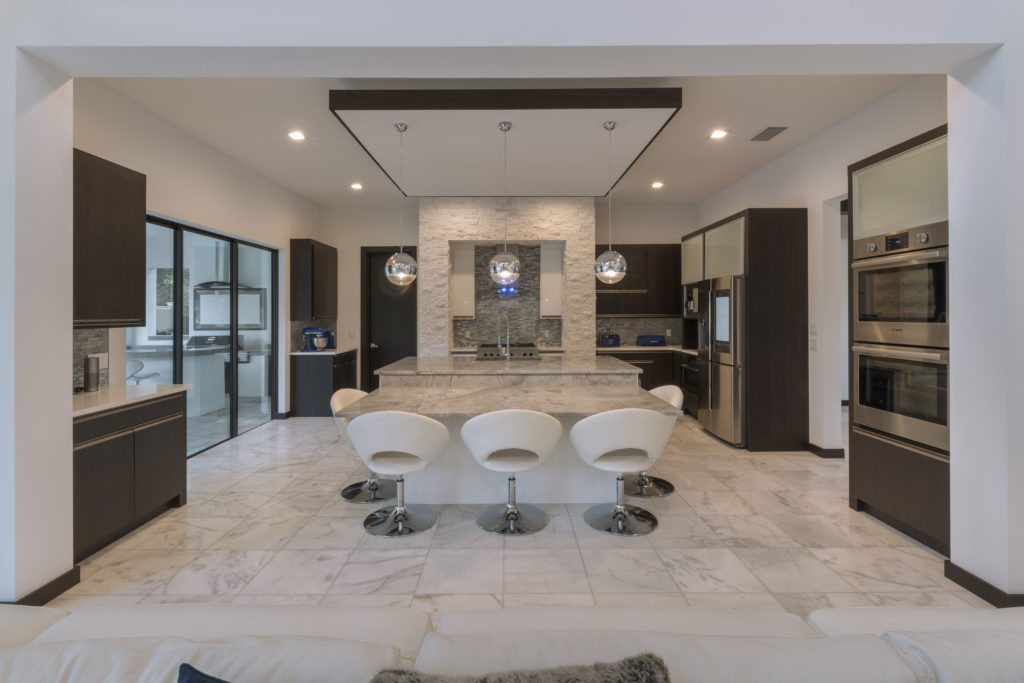
Lighting over the kitchen island often involves hanging pendants. When choosing pendants, consider the ceiling height and the island size. Pendants now come in lengths up to 18 inches long. For a 12-foot ceiling, an 18-inch-tall pendant works well. The basic rule is to hang pendants no less than 36 inches from the countertop. Try to group pendants in odd numbers and if you hang them at varying lengths, the longest pendant should maintain that 36-inch gap with the island countertop. The remaining pendants hang at higher elevations. Wider islands require larger pendants for scale instead of the traditional 6-inch pendants. Space each pendant at the amount of its dimension. If a pendant is 12 inches wide, for example, you’ll want 12 inches between additional pendants. Start at the center of the island (length-wise) and measure out from there.
For more design ideas and tips, subscribe to Jorge’s youtube channel

